
 Pin it
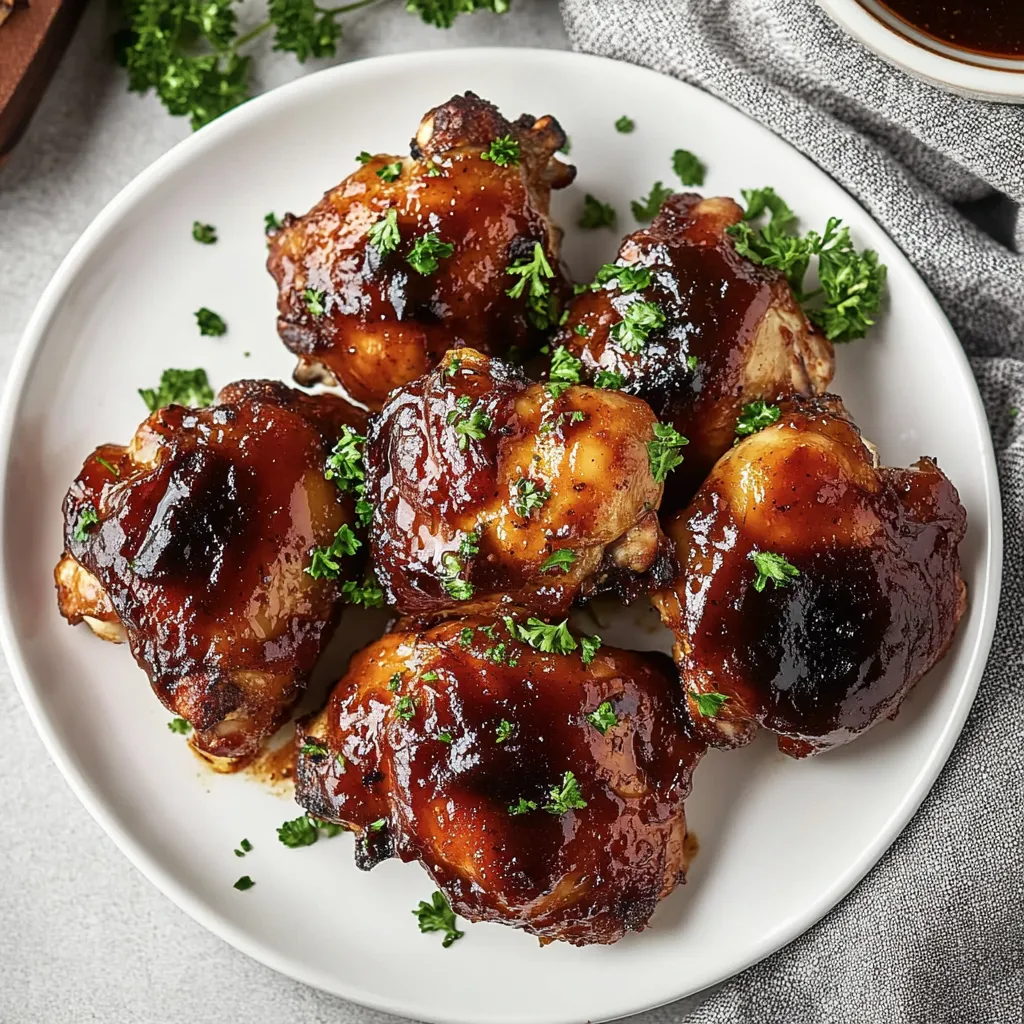
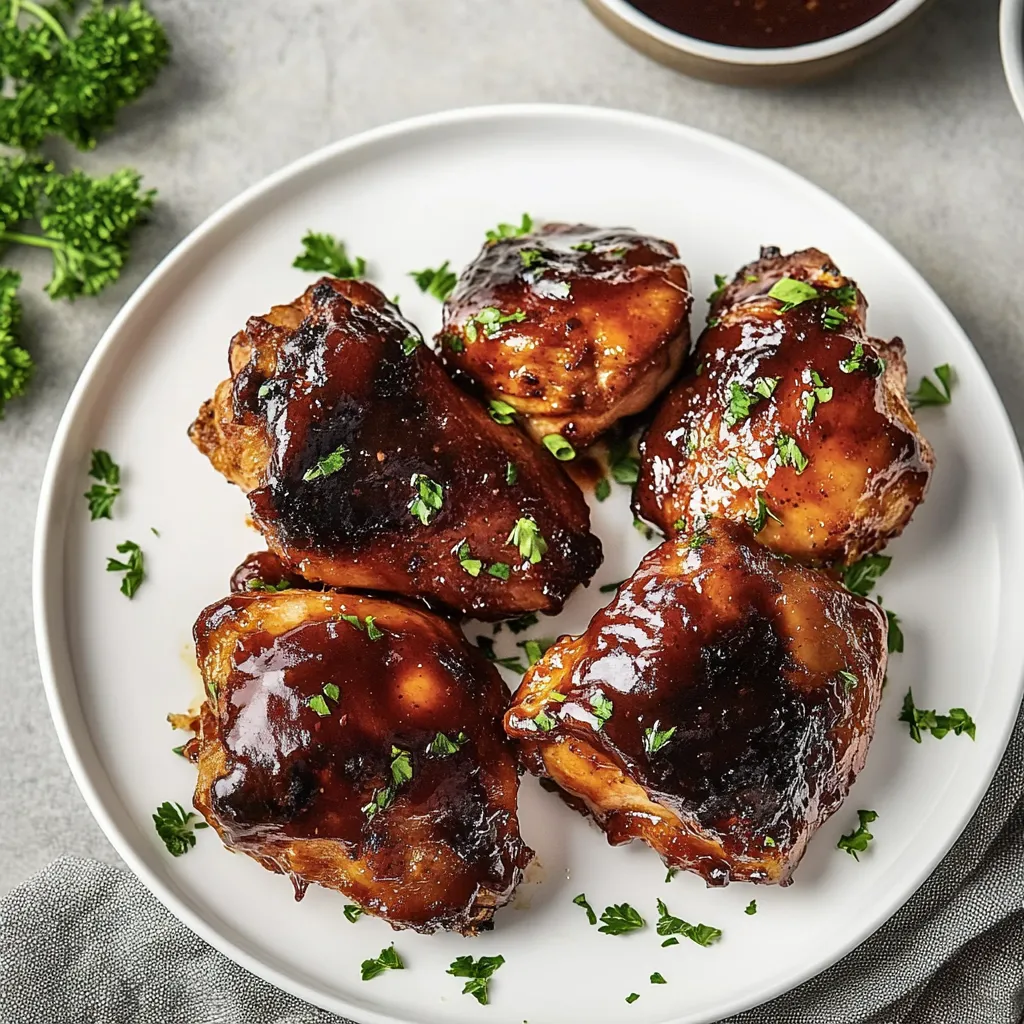
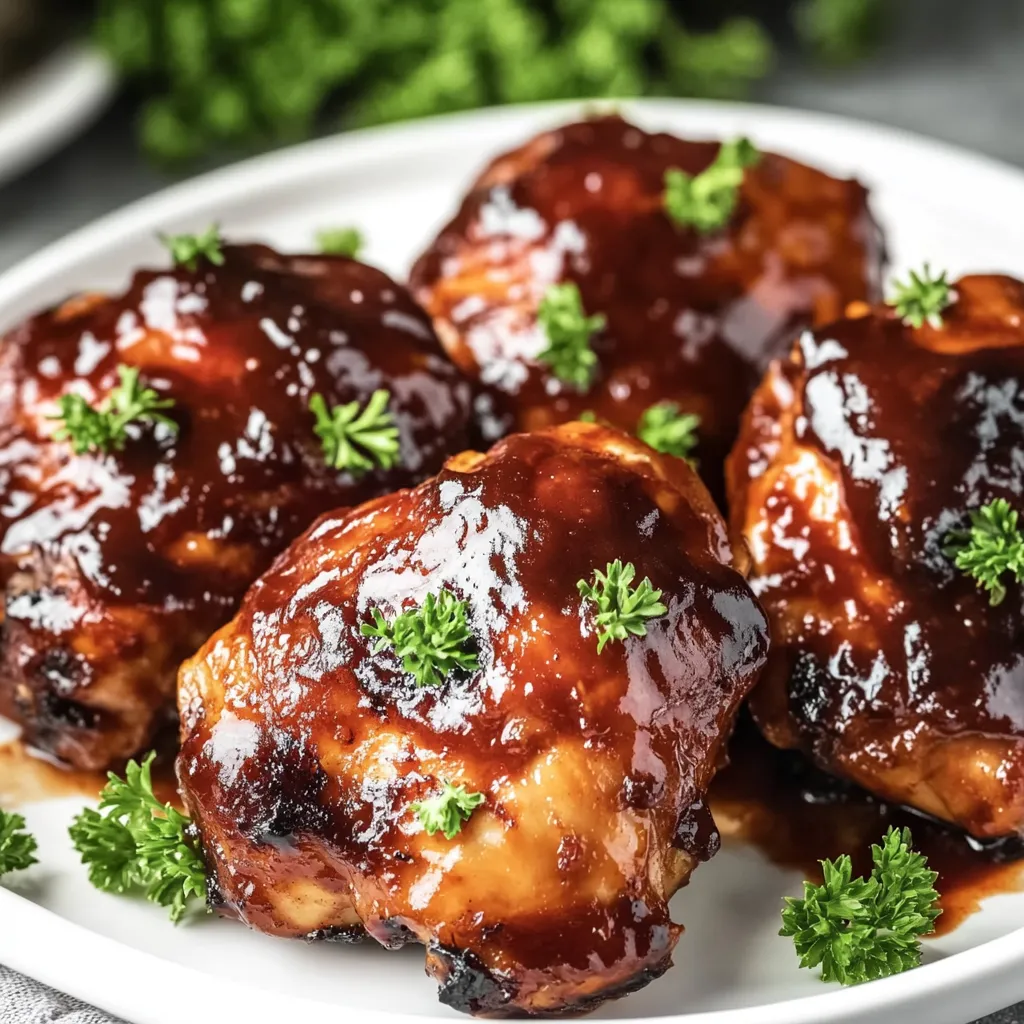
BBQ Baked Chicken Thighs
The perfect bite of barbecue chicken delivers a symphony of textures and flavors – crispy, caramelized skin giving way to juicy, tender meat infused with smoky-sweet sauce. These BBQ Baked Chicken Thighs create exactly that experience without requiring a grill or complex techniques. The magic happens through a two-step process: first seasoning with a simple spice blend that enhances the natural flavor of the chicken, then layering on your favorite barbecue sauce that caramelizes beautifully in the oven. The result is chicken that's impossibly juicy inside with that crave-worthy sticky exterior that makes you lick your fingers after every bite.
Just last week, I made these for a casual weekend dinner when friends stopped by unexpectedly. Everyone kept commenting on how perfectly the sauce had caramelized and asking if I'd used a special technique. The truth was much simpler – this foolproof method creates that authentic barbecue finish with barely any effort. My neighbor, who considers himself a grilling purist, admitted he couldn't tell these weren't cooked over charcoal.
Essential Ingredients and Selection Tips
- Chicken Thighs: Always choose bone-in, skin-on thighs for this recipe. The bones provide flavor while preventing the meat from drying out, and the skin creates a perfect surface for the sauce to caramelize. Look for packages where the thighs are already separated rather than connected for more even cooking
- Paprika: This spice provides both color and subtle smoky sweetness. For an even more pronounced smoky flavor, substitute half the regular paprika with smoked paprika. The vibrant red color also enhances the appearance of the finished dish
- Kosher Salt: The coarser texture allows for better distribution in the rub. Table salt is too fine and can easily lead to over-salting. The slightly larger crystals also help draw moisture to the surface, which then mixes with the spices to form a flavorful crust
- BBQ Sauce: This is where you can truly personalize the recipe. I've found Sweet Baby Ray's Hickory and Brown Sugar delivers consistently excellent results, with that perfect balance of sweetness and tang. A thicker sauce works best as it adheres to the chicken better during cooking
I've learned through countless preparations that taking just a few extra minutes to properly prepare the chicken makes all the difference in the final result. Thoroughly patting the chicken dry before applying the seasoning ensures crispy skin, while taking the time to gently separate the skin from the meat and applying seasoning underneath allows flavor to penetrate throughout. These small but crucial steps elevate a simple recipe to something truly memorable.
Detailed Cooking Instructions
 Pin it
Oven Preparation
Begin by positioning your oven rack in the middle position and preheating to 400°F. This moderate-high temperature provides the perfect balance between thoroughly cooking the chicken and allowing the sauce to caramelize without burning. While the oven heats, line a rimmed baking sheet with nonstick foil or parchment paper and spray lightly with nonstick cooking spray. The rimmed sheet is crucial for containing any juices that release during cooking, preventing smoke and making cleanup significantly easier. The double layer of nonstick protection ensures your beautifully glazed chicken releases cleanly without leaving the skin behind.
Seasoning Application
In a small bowl, combine 2 teaspoons paprika, 2 teaspoons kosher salt, 1½ teaspoons garlic powder, 1 teaspoon onion powder, and ½ teaspoon black pepper, mixing thoroughly to ensure even distribution. Take your chicken thighs and pat them completely dry with paper towels – this step is absolutely crucial for achieving crispy skin. Excess moisture creates steam during cooking, which prevents proper caramelization. Once dry, apply the seasoning mixture generously to all surfaces of the chicken. Take an extra moment to gently lift the skin without detaching it and apply seasoning directly to the meat underneath. This technique ensures flavor penetrates throughout rather than remaining only on the surface. Arrange the seasoned thighs skin-side up on your prepared baking sheet, leaving about an inch between pieces to allow for proper air circulation.
Initial Sauce Application
Pour approximately ¾ cup of your favorite barbecue sauce into a small bowl, reserving the rest of the bottle for later use. Using a silicone basting brush, apply a thin but complete layer of sauce to both sides of the chicken, finishing with the skin side facing up. The first layer should be relatively light – we're building layers of flavor that will intensify during cooking. A common mistake is applying too much sauce initially, which can burn before the chicken is fully cooked. Remember food safety: once your brush touches the raw chicken, don't dip it back into your main sauce container. That's why we pour a portion into a separate bowl.
First Baking Phase
Place the baking sheet on the center rack of your preheated oven and bake for exactly 20 minutes. During this initial cooking period, the chicken begins to cook through while the first layer of sauce starts to set and caramelize. The fat in the skin renders slowly, contributing to that crispy exterior we're seeking. Meanwhile, the seasoning beneath the sauce infuses the meat with flavor. At the 20-minute mark, you'll notice the edges of the sauce beginning to darken slightly and the chicken firming up – these are good signs that you're on track for perfect results.
Second Sauce Application
After the initial 20 minutes, carefully remove the chicken from the oven. Using a fresh, clean brush – this is critically important for food safety – apply a second layer of barbecue sauce to the chicken thighs. This second application creates depth of flavor and ensures that sticky, glazed finish characteristic of great barbecue. Return the chicken to the oven and continue baking for an additional 15-20 minutes, or until the thickest part of the chicken reaches 165°F when tested with an instant-read thermometer. Be careful not to touch the bone when taking the temperature, as this can give a false reading.
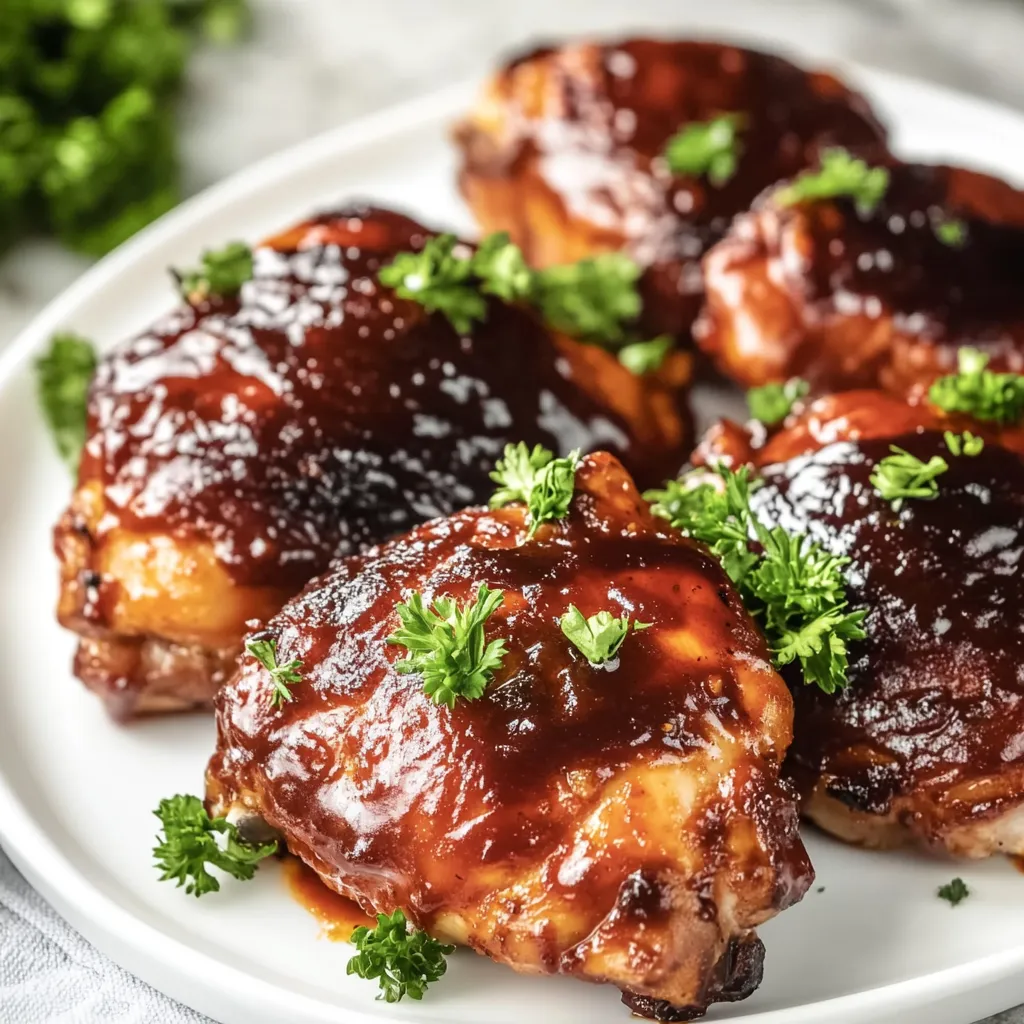
Caramelization Finish
If you desire extra crispiness and caramelization, this final step is transformative. Once the chicken has reached the proper internal temperature, switch your oven to the broiler setting and move the rack up to about 6 inches from the heating element. Broil the chicken for 2-3 minutes, watching very carefully to prevent burning. The sugars in the barbecue sauce caramelize rapidly under the intense direct heat, creating those deeply flavored, slightly charred spots that mimic outdoor grilling. This quick step elevates the chicken from good to exceptional, with a beautiful sheen and complex flavor profile.
Resting Period
Remove the chicken from the oven and allow it to rest undisturbed for 5-10 minutes before serving. This crucial step allows the juices to redistribute throughout the meat rather than running out when cut. During this time, the residual heat continues cooking the chicken slightly, and the sauce sets to a perfect sticky glaze. Once rested, serve with additional warmed barbecue sauce on the side for those who enjoy extra sauciness.
 Pin it
My journey with chicken thighs began after years of struggling with dry, flavorless chicken breasts. I was skeptical at first, having grown up in a household where white meat was considered the "good part" of the chicken. My first attempt at these BBQ thighs completely changed my perspective. The incredible juiciness and depth of flavor made me a convert, and I've been perfecting this recipe ever since. Now when I serve chicken to guests, I'm no longer anxious about whether it will turn out tender enough – these thighs deliver perfect results every time.
Sauce Selection Strategy
While I've mentioned my personal favorite sauce, this recipe truly shines with any barbecue sauce that matches your preference. Sweet, tomato-based Kansas City-style sauces create more caramelization and a candy-like glaze, while vinegar-forward Carolina-style sauces provide tangier results with less charring. For a memorable twist, try mixing two different sauce styles together – my favorite combination is three parts traditional sweet sauce with one part spicy chipotle sauce for complex heat that builds gently with each bite.
Perfect Pairing Possibilities
These BBQ chicken thighs pair beautifully with sides that complement their sweet-savory profile. Traditional options like creamy coleslaw or potato salad provide cooling contrast, while cornbread soaks up the delicious sauce. For a lighter approach, a simple green salad with vinaigrette balances the richness. My personal favorite pairing is a tangy cucumber salad with red onions and dill – the bright acidity cuts through the richness of the chicken perfectly, cleansing the palate between bites.
 Pin it
Cultural and Historical Context
The beauty of these BBQ baked chicken thighs lies in their universal appeal. Everyone from picky children to discerning food enthusiasts enjoys them, making them perfect for both family dinners and entertaining. The combination of crispy, caramelized exterior and tender, juicy meat satisfies our most basic cravings while the complex flavor layers provide sophistication that keeps you coming back for more.
Personal Reflection
There's something deeply satisfying about creating such impressive results with minimal effort – the perfect combination of convenience and culinary excellence. My relationship with this recipe evolved from necessity into passion, becoming one of my signature dishes requested for family gatherings and casual entertaining alike.
Final Thoughts
Whether paired with simple sides for a weeknight meal or dressed up for weekend entertaining, this dish delivers that perfect balance of comfort and culinary excellence that defines the best home cooking.
Bon appétit! 🍗🔥
Frequently Asked Questions
- → Can I use boneless, skinless chicken thighs instead?
- Yes, but adjust cooking time to about 25-30 minutes total since boneless thighs cook faster. They won't be quite as juicy as bone-in, but will still be delicious.
- → Why do I need to use a clean brush when applying more sauce?
- For food safety. Once a brush touches raw chicken, it contains bacteria that could cause foodborne illness. Using a clean brush or reserving untouched sauce prevents cross-contamination.
- → What's the best BBQ sauce to use for this recipe?
- Any BBQ sauce you enjoy works well! Sweeter sauces will caramelize more, while spicier or smokier sauces add different flavor profiles. This recipe is perfect for experimenting with various brands or homemade sauces.
- → Can I prepare these ahead of time?
- Yes! Season the chicken with the dry rub up to 24 hours ahead and refrigerate. You can also fully cook them, refrigerate, and reheat in a 300°F oven until warmed through.
- → Why isn't my chicken skin getting crispy?
- BBQ sauce contains sugar which makes it difficult to get truly crispy skin. The broiling step helps caramelize and set the sauce, but for crispier results, you could bake the chicken with just the rub for 30 minutes, then add sauce and broil.