
 Pin it
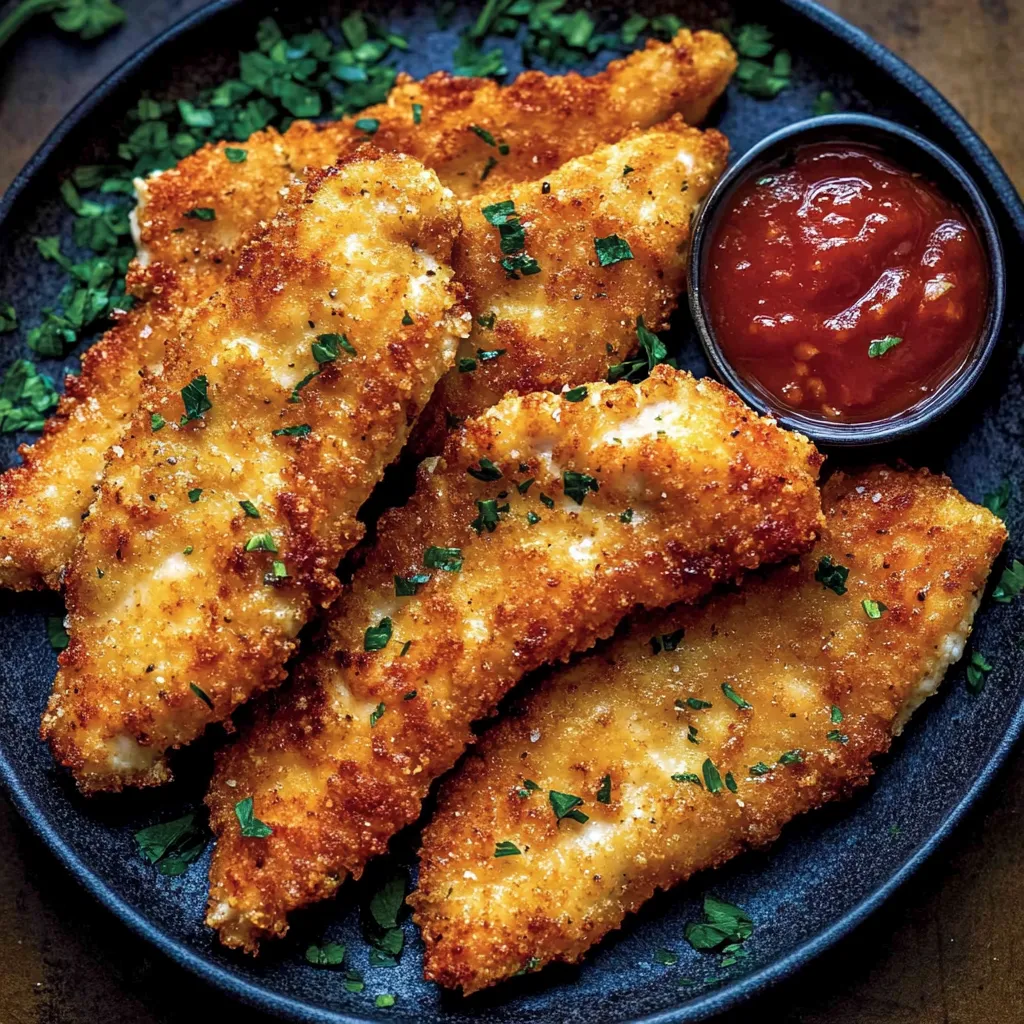
Transforming a simple chicken cutlet into something extraordinary is all about technique and attention to detail. After years of making these in my home kitchen, I've perfected a method that creates the most satisfying combination of golden-brown crust and juicy interior. This recipe has become my reliable go-to when I want to serve something that's both impressive and comforting.
Last weekend, I served these at a casual family dinner, and my nephew, who typically avoids chicken, asked for seconds. The secret lies in the perfectly seasoned breading and careful temperature control during cooking.
Essential Ingredients and Selection Tips
- Chicken Breasts (2 large) – Choose breasts that are uniform in size for even cooking. I prefer organic chicken for its better texture and flavor, but any good quality chicken works well
- Panko Breadcrumbs (¾ cup) – Japanese panko creates superior crunch compared to regular breadcrumbs. Look for fresh, unopened packages for the best texture
- Parmesan Cheese (½ cup) – Use freshly grated Parmigiano-Reggiano rather than pre-grated cheese. The fresh cheese melts better into the crust and provides more flavor
- All-Purpose Flour (½ cup) – Regular all-purpose flour works perfectly here. The flour helps the egg wash adhere better to the chicken
- Garlic Powder (½ teaspoon) – Use fresh garlic powder for the best flavor. Old garlic powder can become bitter
- Oil for Frying – Choose a neutral oil with a high smoke point. Vegetable or canola oil works best
Detailed Cooking Instructions
- 1. Chicken Preparation
- Begin by butterflying each chicken breast horizontally to create four even cutlets. Place them between plastic wrap and gently pound to an even thickness - about ¼ inch is perfect. Pat them completely dry with paper towels; moisture is the enemy of a crispy crust.
- 2. Breading Station Setup
- Create your three-step breading station with seasoned flour, beaten egg, and the panko-Parmesan mixture. I arrange mine from left to right to maintain a clean workflow. Season each component well - the flour gets garlic powder, salt, and pepper, while the panko mixture gets a generous amount of Parmesan and a touch of extra seasoning.
- 3. Breading Process
- Use one hand for dry ingredients and one for wet to avoid the dreaded "breaded fingers." Press the panko mixture firmly onto each cutlet to ensure good adhesion. Let the breaded cutlets rest on a wire rack for 5-10 minutes before cooking - this helps the coating stick better.
- 4. Cooking Methods
- For pan-frying, heat your oil to 375°F - this temperature is crucial for achieving that golden-brown crust without burning. Work in batches to avoid crowding the pan. For air frying, preheat to 400°F and remember to spray the breaded cutlets with oil for the best browning.
- 5. Final Touch
- Let the cooked cutlets rest on a wire rack rather than paper towels - this keeps the bottom crust crispy. Season with a final pinch of salt while they're still hot.
 Pin it
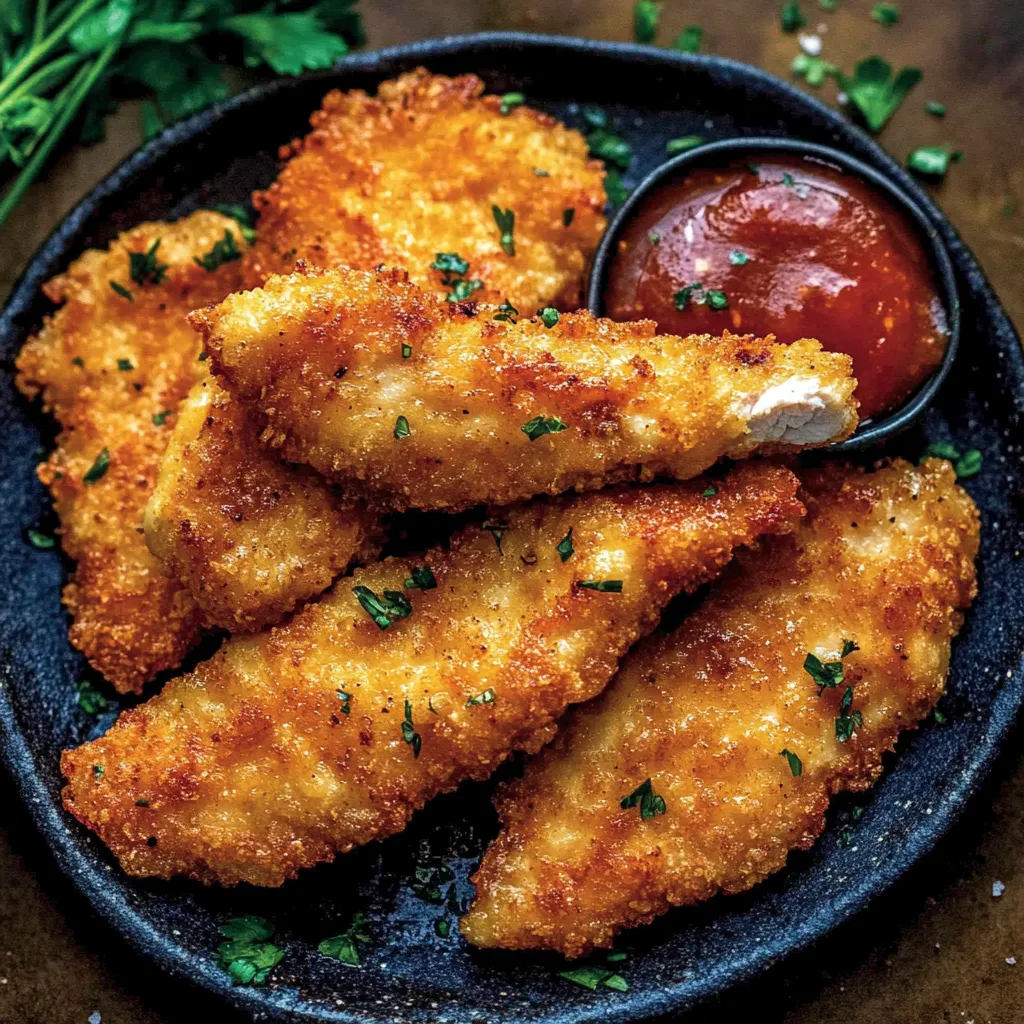
Growing up, my mother always said that a properly cooked chicken cutlet should "sing" when it hits the hot oil. That sizzle is indeed the sound of success.
Breading Technique
The key to perfect breading lies in the pressure you apply when coating the chicken. Press firmly but gently to ensure good adhesion without compressing the meat.
Temperature Management
Keep your oil at a consistent temperature by using a thermometer and adjusting the heat as needed. Too hot, and the coating burns before the chicken cooks; too cool, and the cutlets become greasy.
Serving Strategy
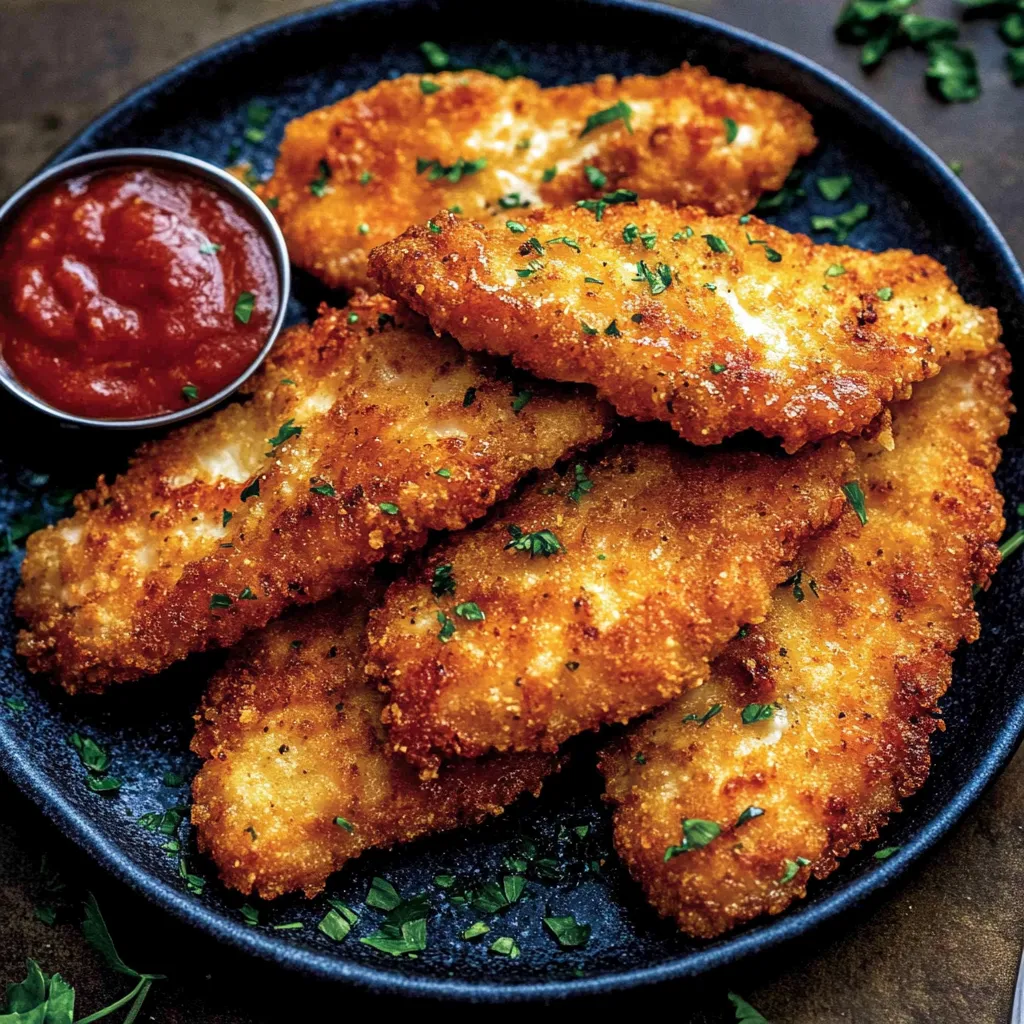
These cutlets are incredibly versatile. Serve them hot with a squeeze of lemon, or let them cool slightly for the perfect chicken Parmesan base.
 Pin it
These chicken cutlets have become my signature dish, requested at family gatherings and praised for their perfect texture. They remind me that mastering simple techniques can elevate everyday ingredients into something truly special. Whether served with a simple salad or transformed into an elegant chicken Parmesan, these cutlets prove that attention to detail makes all the difference in cooking.
Frequently Asked Questions
- → Why slice chicken horizontally?
- Creates thinner cutlets that cook quickly and evenly. Makes them more tender too.
- → Which cooking method is best?
- Pan-frying gives crispiest results, but air fryer and oven work well with less oil.
- → Can I make these ahead?
- Best served fresh and hot. Can bread ahead and refrigerate up to 4 hours.
- → Why room temperature egg?
- Creates better coating adhesion than cold egg. Helps breading stick better.
- → What can I serve with these?
- Great with pasta, salad, or vegetables. Also perfect for sandwiches.