
 Pin it
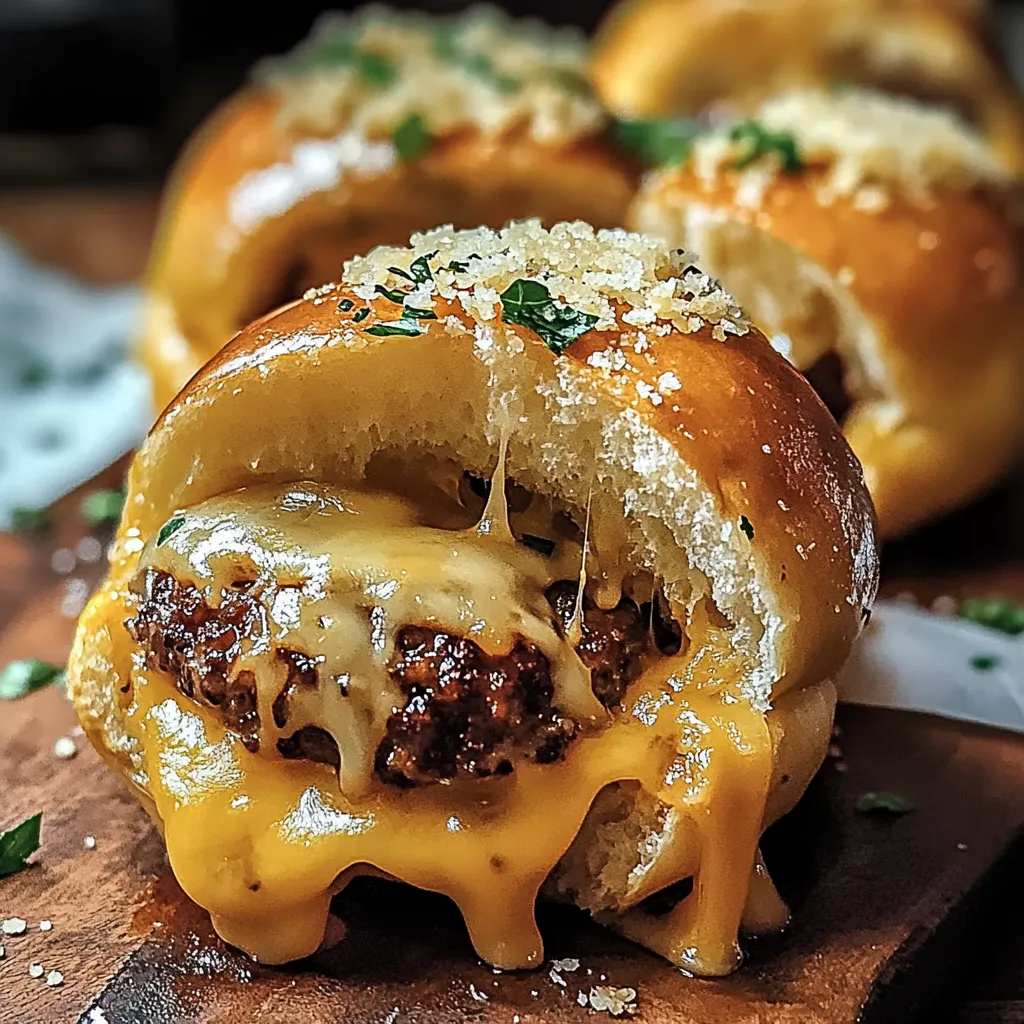
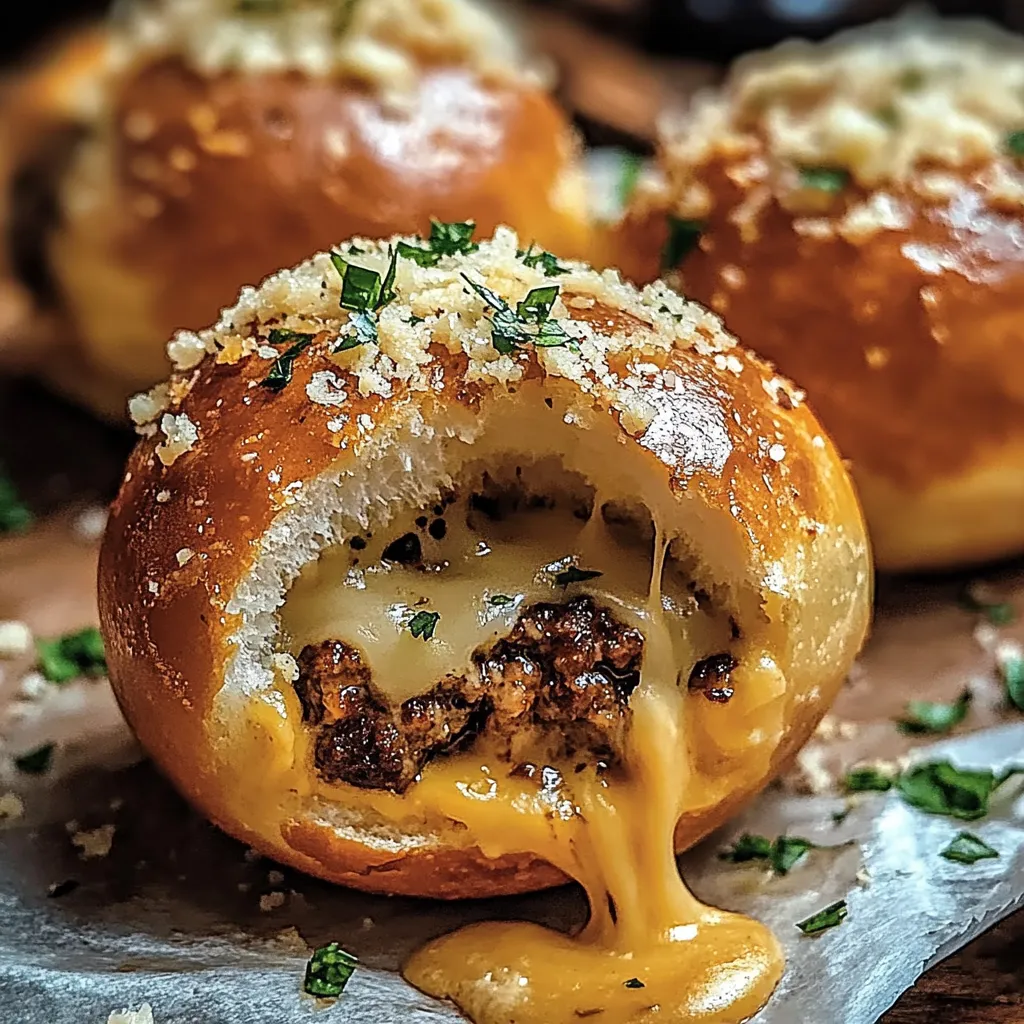
These irresistible garlic parmesan cheeseburger bombs transform classic burger flavors into addictively poppable bites wrapped in golden, flaky biscuit dough. Each little bundle delivers a perfect mixture of seasoned beef and melty cheese, creating an explosion of savory flavors that will have everyone reaching for seconds.
The first time I made these for a game day gathering, they disappeared faster than any other dish on the table. The combination of garlic, parmesan, and melted cheese creates an aroma that draws people to the kitchen before they're even out of the oven.
Essential Ingredients and Selection Tips
- Ground beef: 80/20 provides the ideal balance of flavor and juiciness
- Biscuit dough: Look for flaky-style biscuits rather than buttermilk for best results
- Fresh garlic: Mince your own for the most vibrant flavor
- Parmesan cheese: Use freshly grated for better melting and flavor
- Sharp cheddar: Pre-shredded works, but freshly grated melts more smoothly
- Fresh parsley: Adds both flavor and visual appeal
- Salted butter: Creates that irresistible golden crust
Detailed Step-by-Step Instructions
Prepare the Filling
- Brown ground beef over medium-high heat until no pink remains
- Add minced garlic and cook until fragrant, about 30 seconds
- Drain excess fat to prevent soggy bombs
- Stir in parmesan while meat is hot for proper melting
- Season generously with salt and pepper
- Let cool slightly before handling
 Pin it
Shape the Bombs
- Separate each biscuit and flatten into a 4-inch circle
- Place a generous tablespoon of meat mixture in center
- Add a cube of cheddar cheese
- Carefully stretch dough around filling
- Pinch edges firmly to seal completely
- Roll between palms to ensure even shape
Final Preparation
- Place seam-side down on lined baking sheet
- Brush each bomb generously with melted butter
- Sprinkle with extra parmesan and parsley
- Space them 2 inches apart for even cooking
Baking Process
- Bake in preheated oven until golden brown
- Rotate pan halfway through for even coloring
- Watch carefully in final minutes to prevent burning
- Let cool 5 minutes before serving
One of my favorite memories is teaching my niece to make these - her proud smile when they came out perfectly golden still makes me smile.
Perfect Pairings
Create a dipping station with marinara sauce, ranch dressing, and honey mustard for variety. I've found that a fresh green salad balances the richness perfectly.
Make-Ahead Magic
Prepare the meat mixture in advance and store in the refrigerator. You can even shape the bombs and refrigerate for up to 4 hours before baking.
 Pin it
After countless parties and family gatherings, these cheeseburger bombs have become my signature appetizer. They're more than just a snack - they're little bundles of joy that bring people together around the kitchen, creating memories with every bite.
Frequently Asked Questions
- → Can I make these ahead of time?
- Yes! Assemble them completely, cover, and refrigerate for up to 24 hours before baking. Add 2-3 minutes to baking time if cooking from cold.
- → What's the best cheese to use?
- Cheddar or mozzarella work best as they melt well. Cut into small cubes so they fit inside the dough properly.
- → Can I freeze these?
- Yes! Freeze after baking and cooling completely. Reheat in the oven until warmed through, about 10-15 minutes at 350°F.
- → Why is my filling leaking?
- Make sure to pinch and seal the dough completely, and place seam-side down on the baking sheet to prevent leaks.
- → What can I serve these with?
- Try ketchup, ranch dressing, marinara sauce, or burger sauce for dipping. They're great on their own too!