
 Pin it
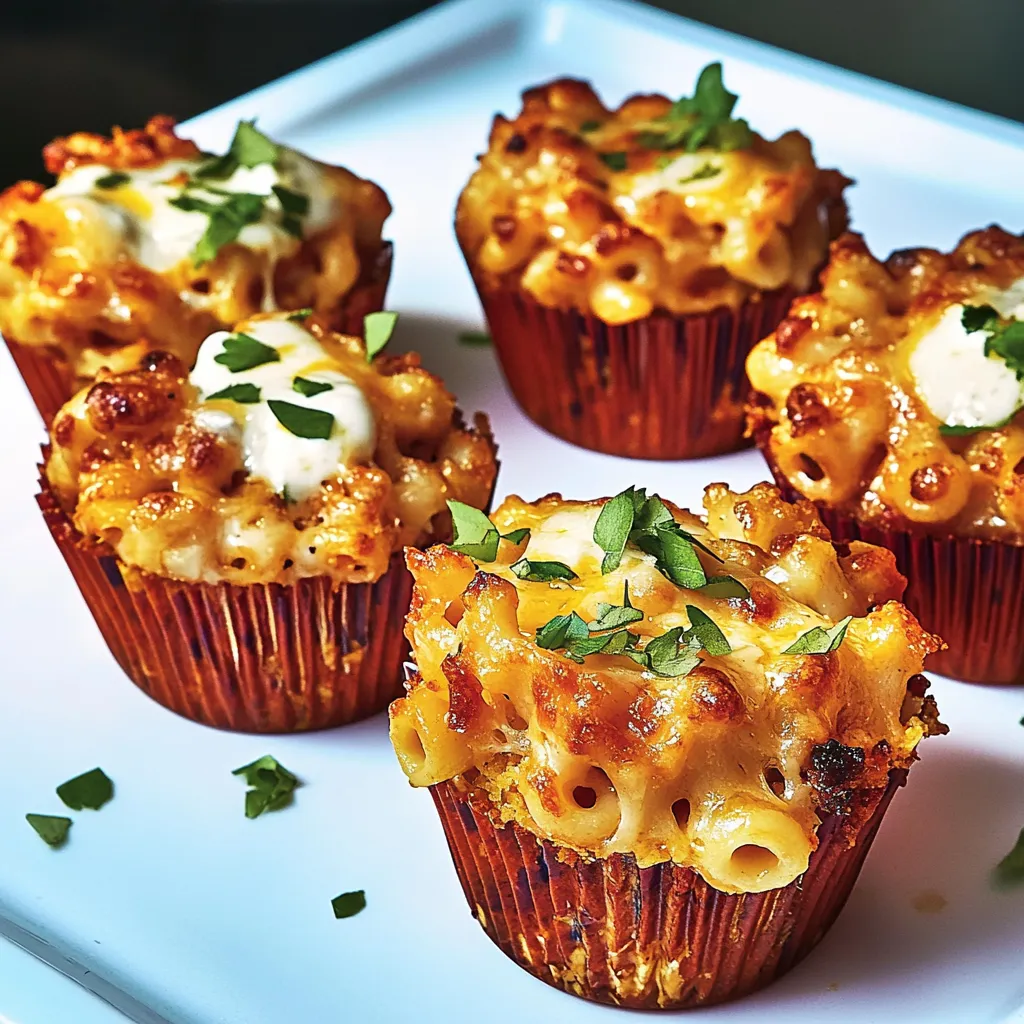
The moment you pull these Mac and Cheese Cowboy Cups from the oven, you'll experience a perfect fusion of comfort food classics - creamy macaroni and cheese combined with zesty taco-seasoned beef, all contained in convenient, crispy-edged portions. This creative twist transforms traditional mac and cheese into something both familiar and exciting. Through extensive testing in my kitchen, I've discovered that the key to making these cups exceptional lies in proper preparation and careful attention to both texture and seasoning.
Last weekend, I served these at a family gathering, and even my pickiest nephew, who usually refuses to try new things, asked for seconds. The secret lies in slightly undercooking the pasta initially and letting the cups rest before serving.
Essential Ingredients and Selection Tips
- Boxed Macaroni and Cheese (2 boxes) – Choose a quality brand for best results
- Ground Beef (1 pound) – 80/20 ground beef provides the best flavor and moisture
- Whole Milk (⅔ cup) – Full-fat milk creates the creamiest sauce
- Butter (5 tablespoons) – Unsalted butter allows better control of seasoning
- Taco Seasoning (1 packet) – Store-bought or homemade both work well
- Yellow Onion (½ cup, finely chopped) – Fresh onion provides better flavor than dried
- Diced Tomatoes and Green Chilies (10-ounce can) – Drain slightly if very liquid
- Pepper Jack Cheese (2 cups, shredded) – Freshly grated melts better than pre-shredded
Optional Toppings:
- Sour Cream
- Fresh Jalapeños
- Cilantro
- Avocado
Detailed Cooking Instructions
- 1. Initial Preparation
- Begin by positioning oven rack in the center and preheating to 400°F (200°C). Thoroughly grease two 12-cup muffin tins, making sure to coat both the bottom and sides of each cup completely. This thorough greasing is crucial for easy removal later. Gather all ingredients and measure them before starting to ensure smooth preparation process.
- 2. Pasta Cooking Process
- Bring a large pot of water to a rolling boil. Add a generous pinch of salt. Add macaroni from both boxes and cook for exactly 5 minutes - this is intentionally less than package directions as the pasta will continue cooking in the oven. Stir occasionally during cooking to prevent sticking. Drain pasta thoroughly in a colander but do not rinse. Return pasta to the pot and immediately stir in cheese packets, ⅔ cup whole milk, and 5 tablespoons butter. Mix until completely smooth and creamy. Cover to keep warm while preparing beef.
- 3. Beef Mixture Creation
- Heat a large skillet over medium-high heat. Add ground beef and break into small, even pieces using a wooden spoon. Cook until no pink remains, about 5-7 minutes, stirring frequently. Add finely chopped onion and taco seasoning packet. Continue cooking for 2 minutes until onions begin to soften. Add ¼ cup water and use spoon to scrape up any browned bits from bottom of pan - these contain concentrated flavor. Add drained diced tomatoes and green chilies, stirring to combine.
- 4. Combining Components
- Remove pasta mixture from heat if still on burner. Add the seasoned beef mixture to the macaroni and cheese, stirring gently but thoroughly to combine. Add shredded pepper Jack cheese and stir until evenly distributed. Taste and adjust seasoning with additional taco seasoning if desired.
- 5. Muffin Tin Assembly
- Using a large spoon or ice cream scoop, fill each prepared muffin cup almost to the top with the mixture. Press down gently with the back of the spoon to ensure mixture is well-packed and to create a small well in the center of each cup. This well will help hold toppings later.
- 6. Baking Process
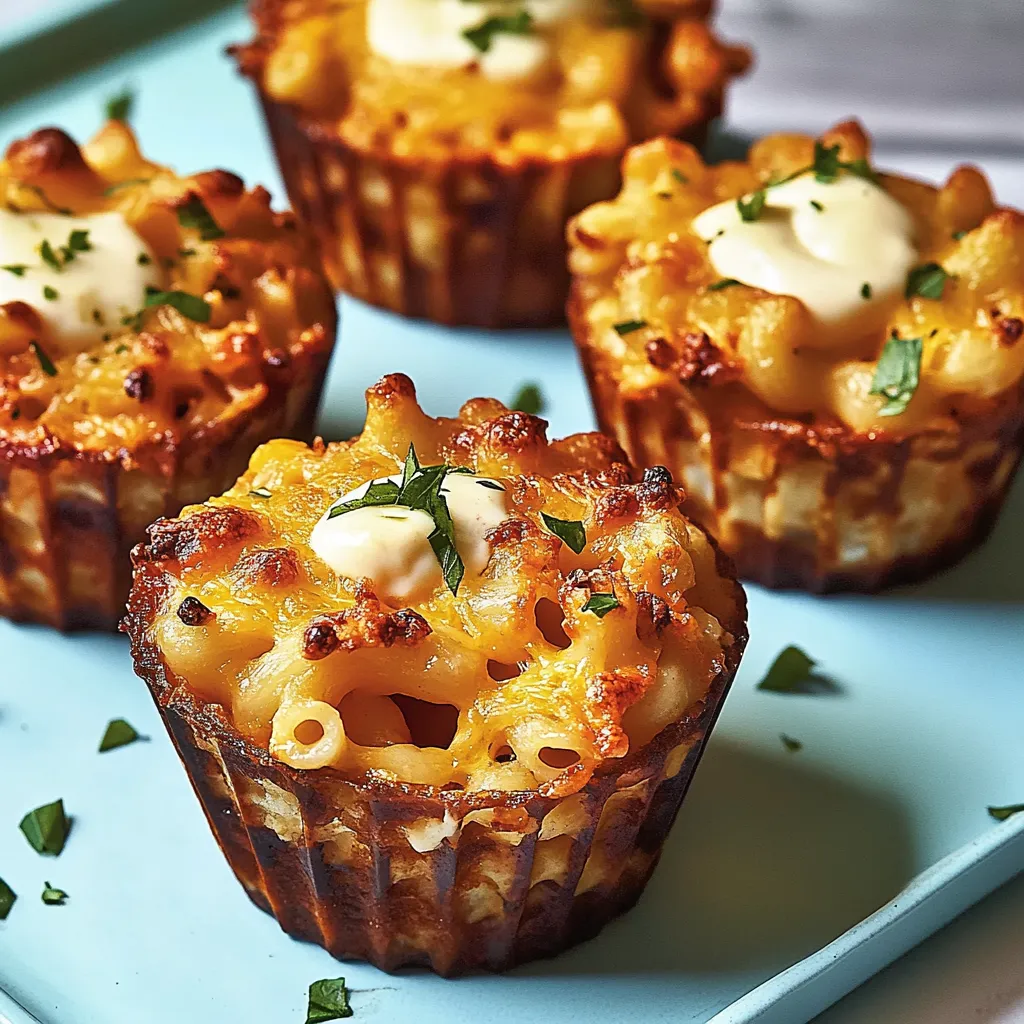
- Place filled muffin tins in preheated oven. Bake for 20-25 minutes, rotating pans halfway through cooking time for even browning. Watch carefully during the last few minutes - the tops should be golden brown and slightly crispy, and the edges should be bubbling. The cups are done when they're set around the edges but still slightly soft in the center.
- 7. Cooling Period
- Remove pans from oven and place on wire cooling racks. Let cups cool in the pans for exactly 10 minutes - this resting period is crucial as it allows them to set properly and makes removal easier. After 10 minutes, run a plastic knife or small spatula around the edge of each cup to loosen, then carefully remove from pans.
 Pin it
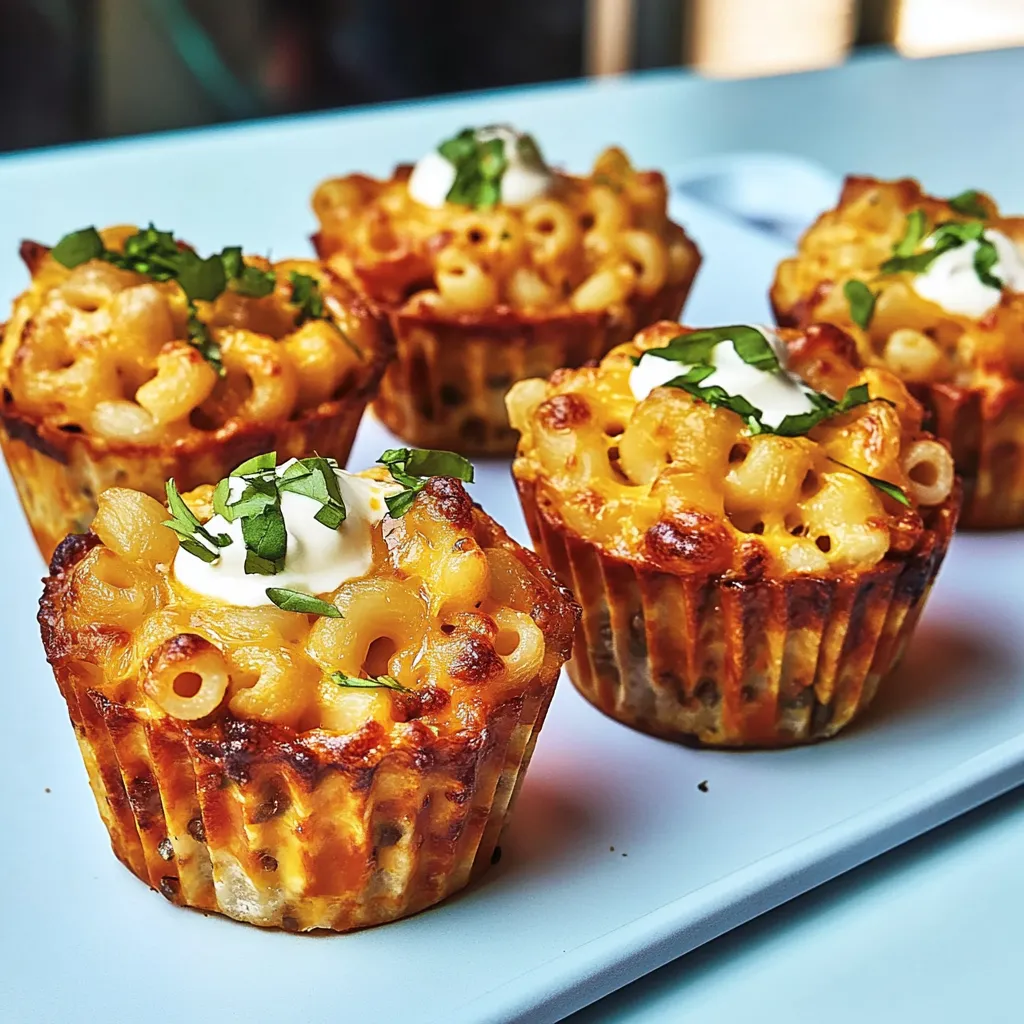
Serving Instructions
Serve warm with variety of toppings:
- Dollop of sour cream
- Sliced fresh jalapeños
- Chopped fresh cilantro
- Diced avocado
- Crushed tortilla chips
- Additional shredded cheese
- Fresh salsa
- Guacamole
Storage Methods
For Immediate Storage:
- Allow cups to cool completely
- Place in airtight container
- Layer with parchment paper between layers
- Refrigerate for up to 3 days
For Freezing:
- Cool completely
- Wrap individually in plastic wrap
- Place in freezer-safe container
- Freeze up to 3 months
Reheating Instructions
From Refrigerated:
- Oven Method: Preheat to 350°F, heat for 10-15 minutes until warm
- Microwave: Heat individual cups for 1-2 minutes
- Air Fryer: 375°F for 3-4 minutes
From Frozen:
- Thaw overnight in refrigerator
- Follow refrigerated reheating instructions
- Or heat from frozen at 375°F for 20 minutes
Make-Ahead Options
If preparing in advance:
- Assemble cups but don't bake
- Cover tightly with plastic wrap
- Refrigerate up to 24 hours
- Add 5 minutes to baking time when cooking from cold
Variations
Cheese Options:
- Substitute cheddar for milder flavor
- Use Mexican cheese blend
- Try Monterey Jack for less heat
Meat Options:
- Ground turkey for lighter version
- Ground chicken
- Vegetarian crumbles
 Pin it
Through extensive testing and refinement, these Mac and Cheese Cowboy Cups have become a reliable, impressive dish that transforms classic comfort foods into something special. Whether served for a casual family dinner or party appetizer, they consistently deliver the perfect balance of flavors and textures that makes them memorable.
Frequently Asked Questions
- → Can I make these ahead of time?
- Yes! Prepare and assemble in advance, then bake just before serving for best texture.
- → What if I don't like pepper Jack cheese?
- Substitute with cheddar, monterey jack, or your favorite melting cheese.
- → Can I make this vegetarian?
- Use plant-based ground meat or black beans instead of beef.
- → How do I store leftovers?
- Refrigerate in an airtight container for 3-4 days. Reheat in oven to maintain crispiness.
- → Can I freeze these mac and cheese cups?
- Yes, freeze in an airtight container for up to 1 month. Thaw and reheat in oven.