
 Pin it
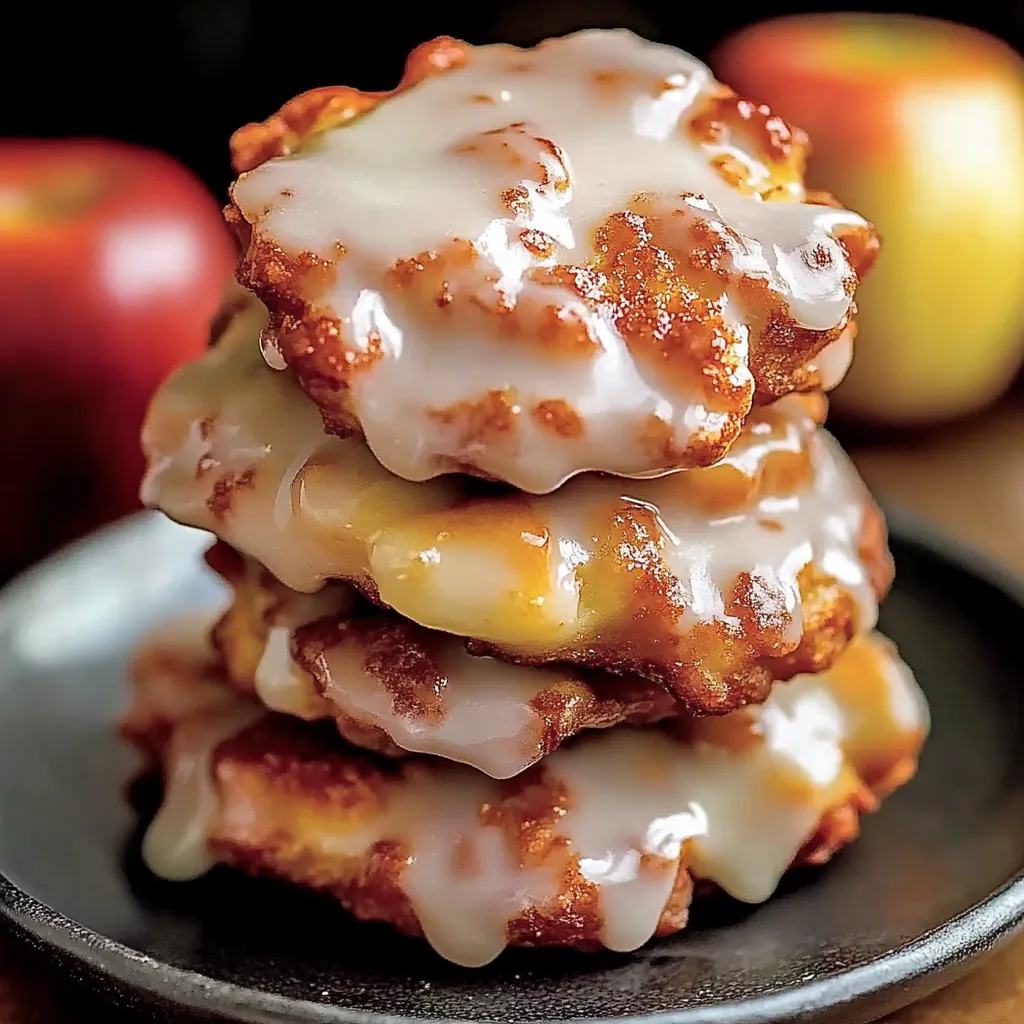
The moment you pull these apple fritters from the oven, your kitchen fills with an irresistible aroma of warm cinnamon and caramelized apples. It's like capturing the essence of a crisp autumn morning in a single bite - soft, fluffy, and beautifully golden, these fritters transform a simple breakfast into a memorable moment. No need for deep-frying or complicated techniques; just pure, simple joy baked right into every morsel.
Last weekend, I made these fritters for my family, and the kitchen was instantly transformed. My nephew couldn't stop raving about how they tasted "just like the ones from the bakery," but without all the extra oil. The best part? Everyone could help with different steps, making it a fun family cooking experience.
Essential Ingredients and Selection Tips
- All-Purpose Flour - Look for unbleached flour with a fine, consistent texture. If you want a slightly heartier fritter, white whole wheat flour works wonderfully. I always keep my flour in an airtight container to maintain its freshness and prevent any moisture absorption.
- Apples - Choose firm, tart varieties like Granny Smith or Honeycrisp. These apples hold their shape during baking and provide a beautiful balance of sweetness and slight tartness. I love walking through the farmers market in early fall, carefully selecting the most vibrant, crisp apples for this recipe.
- Butter - Always use cold, unsalted butter. The chilled butter creates those lovely little pockets of flavor and helps achieve a tender, scone-like texture. I've found that letting the butter sit in the coldest part of the refrigerator ensures the perfect consistency.
- Milk - Whole milk provides the richest flavor and moisture. If you're looking to experiment, you could try alternatives like almond or oat milk, but whole milk gives the most traditional result.
The magic of this recipe lies in how these ingredients come together. Each time I prepare these fritters, I'm reminded that baking is part science, part art - and entirely about creating moments of joy.
Detailed Cooking Instructions
1. Begin by preheating your oven to 375°F (190°C). This specific temperature is crucial - too low, and your fritters won't achieve that beautiful golden color; too high, and they'll burn before cooking through.
2. Line a baking sheet with parchment paper. The parchment ensures easy removal and prevents sticking, making cleanup a breeze.
3. In a large mixing bowl, combine your dry ingredients. Whisk them thoroughly to ensure even distribution of the baking powder and spices.
4. When cutting in the cold butter, use a pastry cutter or fork. The goal is to create coarse crumbs - those little butter pieces are what will give your fritters their tender, flaky texture.
5. Mix your wet ingredients separately before combining with the dry ingredients. This helps prevent overmixing, which can make your fritters tough.
6. Gently fold in the diced apples. Be careful not to break up the apple pieces - you want distinct chunks of fruit in every bite.
 Pin it
Baking and Caramelization
1. Use a ¼ cup measuring cup or ice cream scoop to create uniform fritters. This ensures even cooking and a professional look.
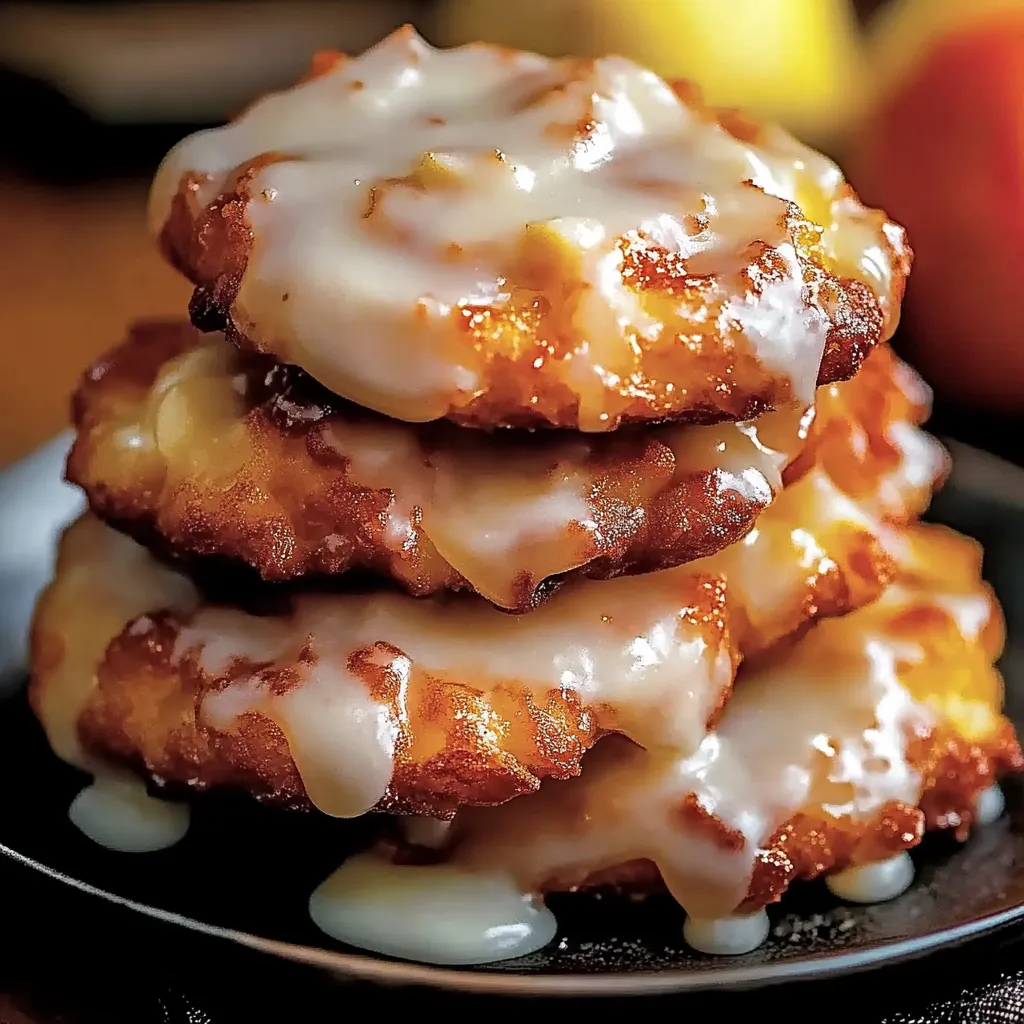
2. Bake for 12-14 minutes. The fritters should be slightly golden and a toothpick inserted in the center should come out clean.
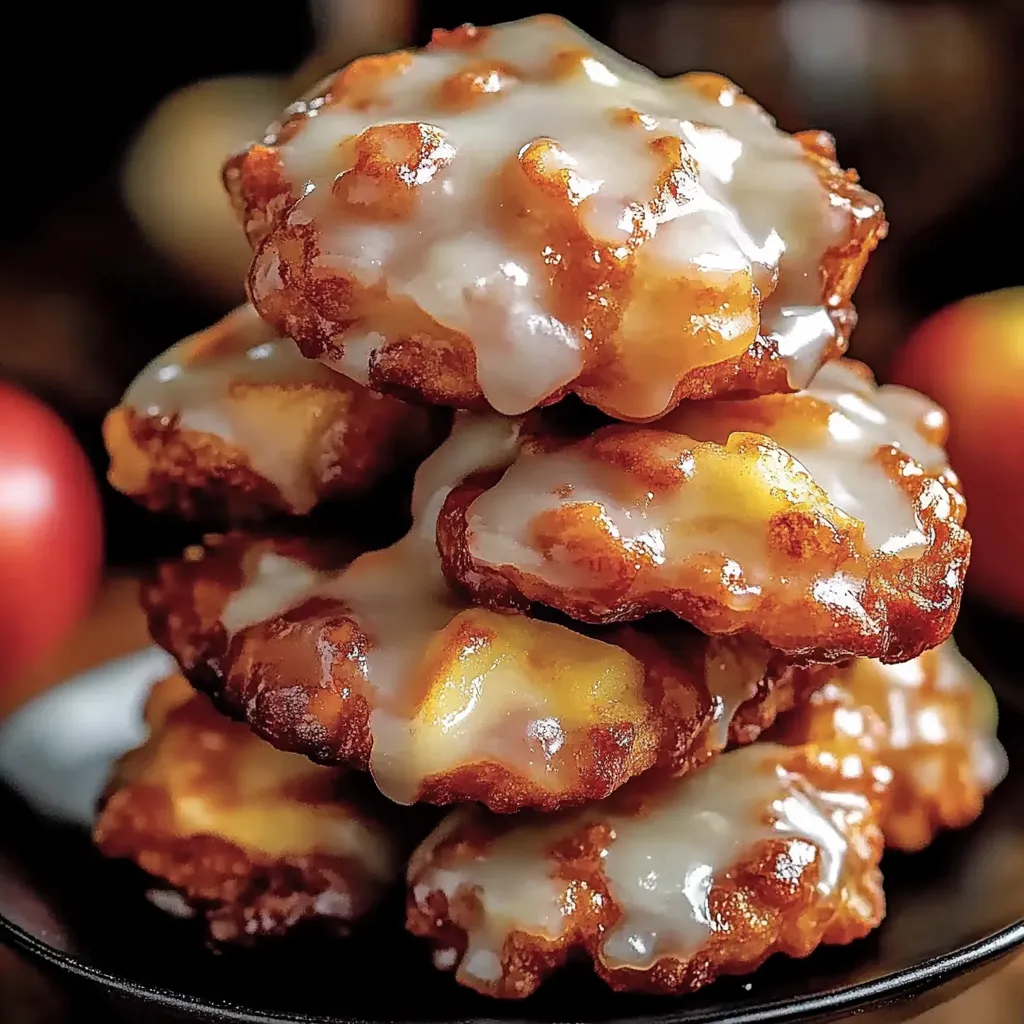
3. The broiling step is where the magic happens. Those 2-3 minutes under the broiler create a caramelized, almost fried-like exterior without the need for deep-frying.
Growing up, my grandmother always said that the best recipes tell a story. These apple fritters remind me of crisp autumn mornings, of family gatherings, and of the simple joy of baking something delicious from scratch. Each time I make them, I'm transported back to her kitchen, where baking was an act of love.
The Science Behind the Perfect Fritter
Baking is a delicate balance of chemistry and creativity. The baking powder provides lift, the butter creates tenderness, and the apples add moisture and flavor. By baking instead of frying, we're creating a healthier version that doesn't sacrifice an ounce of deliciousness.
Customization and Variations
- Experiment with different apple varieties
- Try adding a sprinkle of nutmeg or cardamom to the batter
- Replace vanilla extract with maple for a deeper fall flavor
 Pin it
My years in the kitchen have taught me that recipes are living things. They evolve, they adapt, and they carry memories. These baked apple fritters are more than just a recipe - they're an invitation to slow down, to savor, and to create moments of pure, simple happiness.
Final Thoughts
Baking is an act of love, of creativity, of sharing. These apple fritters embody everything I adore about cooking - they're simple yet sophisticated, comforting yet exciting. Whether you're a seasoned baker or a kitchen novice, this recipe promises success and joy in every bite.
So preheat that oven, gather your ingredients, and get ready to fill your kitchen with the most incredible autumn aroma. Happy baking!
Frequently Asked Questions
- → Can I use different types of apples?
- Tart apples work best, but you can experiment with different varieties. Adjust flour if apples are extra juicy.
- → How do I store these fritters?
- Best eaten on the same day. Store in an airtight container at room temperature for up to 2 days.
- → Can I make these gluten-free?
- Try substituting gluten-free all-purpose flour for the wheat flours.
- → Do I need a special baking mat?
- A silicone baking mat helps, but you can use a regular baking sheet. Just expect more cleanup.
- → Can I freeze these fritters?
- Yes, you can freeze them. Cool completely, then store in a freezer bag for up to 1 month.