
 Pin it
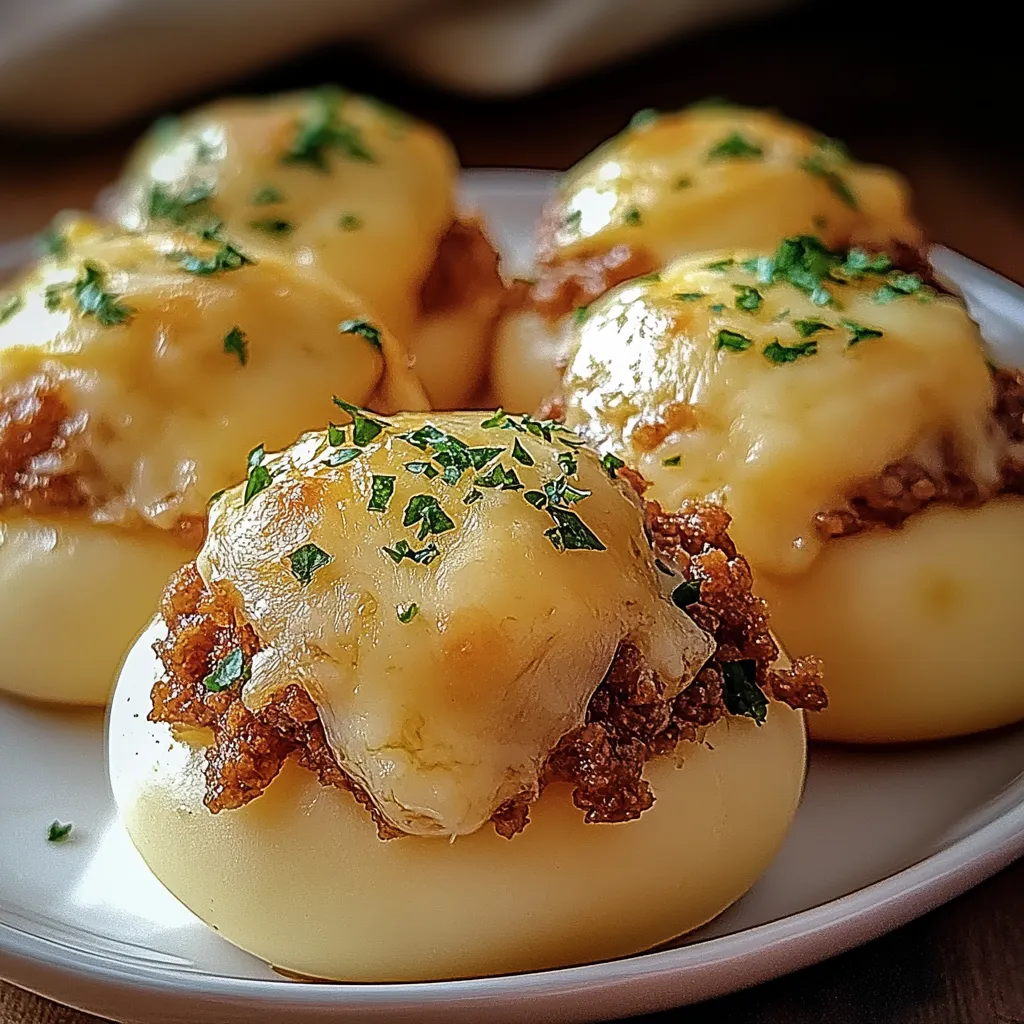
If there's one thing that never lasts long in my kitchen, it's a tray of these Cheesy Garlic Bliss Bombs. Picture this: buttery biscuit dough wrapped around melty cheddar and parmesan, filled with savory garlic-seasoned beef, and brushed with warm herbed butter. They come out of the oven golden and puffed, and before you know it—gone. Whether you're hosting friends, feeding teens, or just treating yourself, this recipe hits every craving in one perfect bite.
I made these once for a Sunday movie night and everyone kept reaching back for "just one more." Lesson learned: always double the batch. They're that addictive.
Ingredient Breakdown – What You’ll Need and Why
- Biscuit Dough: The ultimate shortcut for soft, flaky layers. Choose a brand that bakes up fluffy (like Pillsbury Grands or your store’s jumbo biscuits).
- Ground Beef: Gives heartiness and depth. You can swap in ground turkey or sausage for a twist.
- Garlic: Adds savory warmth—freshly minced is best, but jarred works too.
- Cheddar Cheese: Melts beautifully. I cut mine into small cubes for maximum stretch.
- Parmesan Cheese: A sprinkle of this sharp cheese balances the richness with a little salty punch.
- Butter: Brushed over the top, it creates that irresistible glossy finish.
- Parsley (optional): A little color and freshness that makes them look as good as they taste.
This combo makes for rich, cheesy bites with just enough texture and flavor contrast. I always keep these staples on hand so I can whip up a batch on a whim.
Step-by-Step Instructions
 Pin it
- Step 1: Cook the Beef Filling
- In a skillet over medium heat, cook the ground beef, breaking it up as it browns. Once fully cooked, drain any grease. Stir in minced garlic and cook for another 1–2 minutes until fragrant. Season with salt, pepper, and optional red pepper flakes. Let the mixture cool slightly before using.
- Step 2: Prep the Biscuit Dough
- Separate each biscuit and flatten into a circle about 3–4 inches wide. Spoon a bit of beef in the center, add a cube of cheddar, and sprinkle on Parmesan. Fold the dough up and over the filling, pinching to seal. Roll gently into a ball.
- Step 3: Ready the Baking Sheet
- Preheat your oven to 375°F. Line a baking sheet with parchment paper. Place the filled dough balls seam-side down, leaving space between them so they don’t stick together while baking.
- Step 4: Brush with Garlic Butter
- Melt butter in a small bowl and stir in a pinch of garlic powder or minced garlic. Brush the tops of the biscuit bombs generously. Sprinkle with chopped parsley if using.
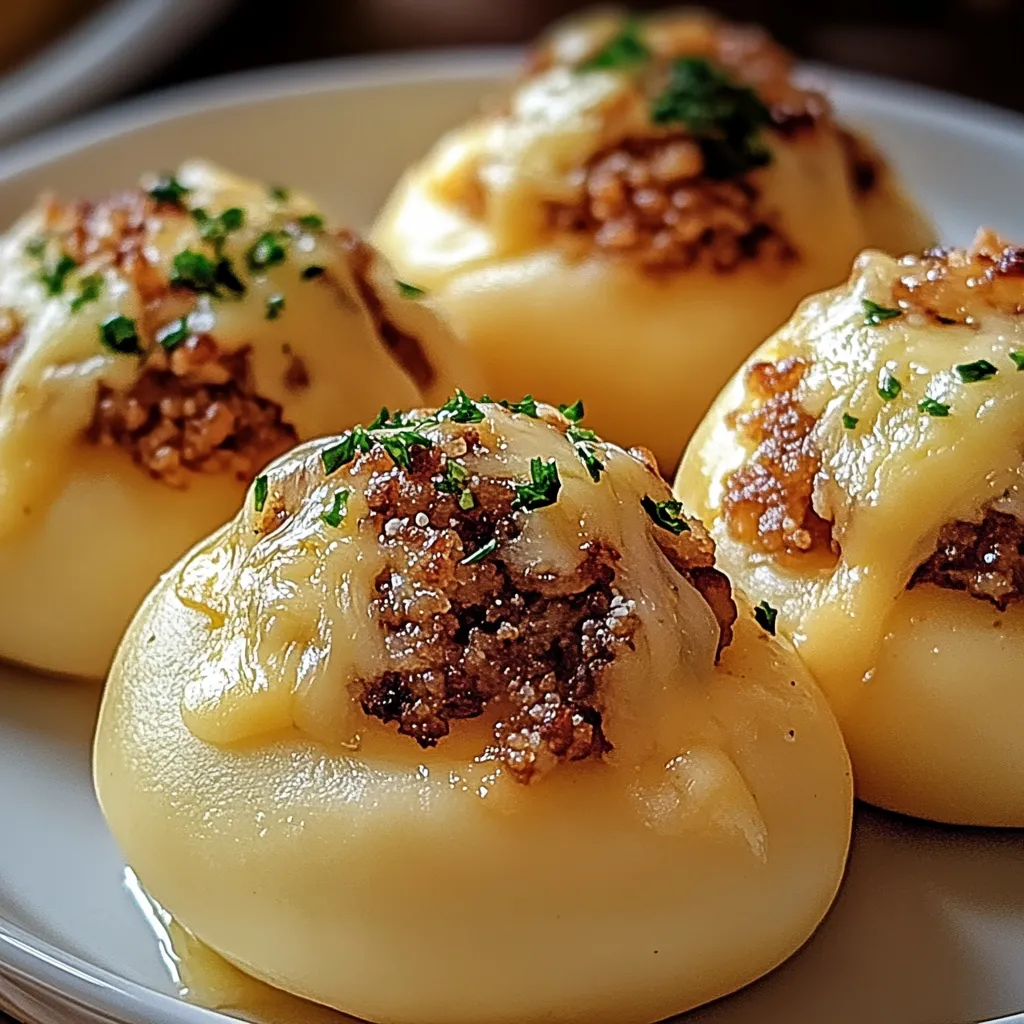
- Step 5: Bake to Golden Perfection
- Bake for 15–18 minutes or until puffed and deeply golden. The smell alone will have everyone hovering near the oven.
- Step 6: Cool Slightly and Serve
- Let cool for about 5 minutes before serving—inside will be hot! They’re best warm, when the cheese is perfectly gooey.
Cheddar is my go-to cheese here because it melts just the right way—not too runny, not too firm. My kids always peek inside to see that melty stretch, and that’s how I know I got it right.
Serving & Storage Suggestions
Serve these bombs warm out of the oven with a variety of dips like marinara, ranch, or garlic aioli. They also make a great side for soup or salad on busy weeknights.
To store leftovers (if you’re lucky enough to have any), keep them in an airtight container in the fridge for up to 3 days. Reheat in the oven at 350°F until warmed through for best texture.
Extra Tips & Creative Variations
- Spicy Version: Add chopped jalapeños or red pepper flakes to the filling.
- Cheese Switch: Mozzarella, fontina, or gouda are all delicious melty options.
- Pizza-Style: Replace beef with pepperoni and add a dollop of pizza sauce inside.
- Vegetarian: Skip the meat and fill with sautéed mushrooms or spinach and feta.
I once swapped the filling for leftover taco meat and let me tell you—best decision ever. You can play with endless combinations based on what’s in your fridge.
 Pin it
These tips come from years of baking and entertaining. A little patience and planning go a long way to get perfect gooey centers every single time.
Final Thoughts
Cheesy Garlic Bliss Bombs are everything I want in a comfort snack—simple to make, loaded with flavor, and joyfully shareable. They turn ordinary ingredients into something unforgettable. Whether you’re feeding a hungry family or treating yourself on a cozy evening, these little bombs of bliss never disappoint.
Trust me: once you serve them, people won’t stop asking when you're making them again.
Frequently Asked Questions
Can I use a different type of dough? Yes! Pizza dough or crescent roll dough can also work, though baking times may vary slightly.
Can I make them ahead and freeze? Absolutely. Freeze them before baking on a tray, then transfer to a bag once solid. Bake directly from frozen—just add 5 extra minutes to the baking time.
What dipping sauces go best with these? Marinara, ranch, garlic aioli, or even spicy mustard all pair beautifully with the flavors inside.
How do I know they’re fully cooked? They’ll be deep golden brown and puffed. The bottoms should be firm, not doughy, and the cheese inside should be fully melted.
Can I reheat them in the microwave? You can, but they’ll be softer. For best texture, reheat in the oven or air fryer until warm and crisp.