
 Pin it
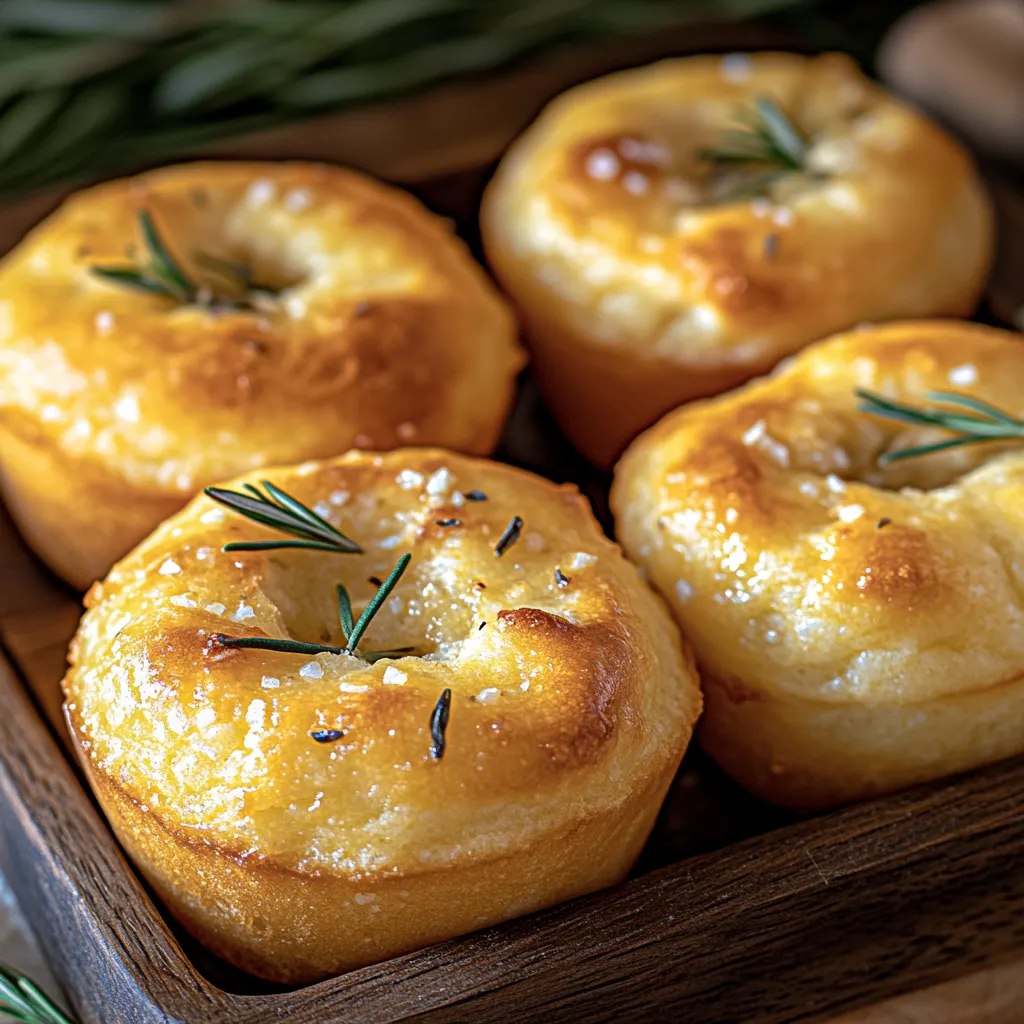
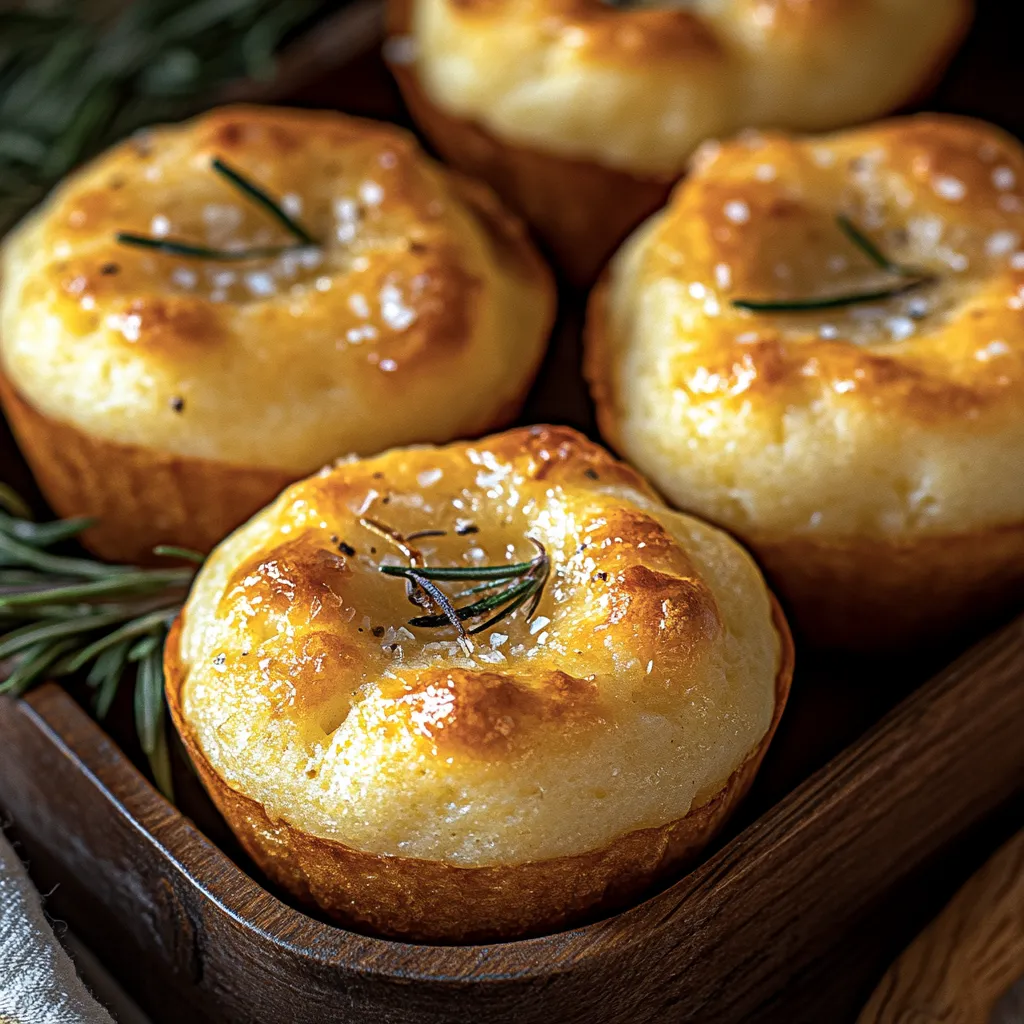
If you love the rich, herb-infused flavors of traditional focaccia but want something portable and easy to serve, these Golden Crust Garlic Rosemary Focaccia Muffins are exactly what you need. Each bite delivers the perfect balance of crispy edges, fluffy interior, and aromatic rosemary-garlic goodness, making them a versatile side, appetizer, or snack.
Easy, Bakery-Quality Focaccia Muffins
Whether you're hosting a dinner, packing a lunchbox, or just craving fresh-baked bread, this fail-proof recipe brings bakery-quality focaccia straight to your home—without the hassle of shaping and stretching dough.
I recently made these for a family dinner, and they vanished within minutes. My husband, who usually prefers traditional bread, took one bite and immediately asked, 'Why haven’t you made these before?' That’s when I knew this recipe was a winner!
Key Ingredients and What They Do
- All-Purpose Flour: Provides the structure while keeping the muffins light and airy.
- Active Dry Yeast: The key ingredient that makes these muffins rise and develop their fluffy texture.
- Warm Water (110°F/43°C): Helps activate the yeast for the best dough consistency.
- Olive Oil: Enhances flavor and keeps the muffins moist while giving them a golden crust.
- Garlic: Infuses the dough with rich, savory flavor. Freshly minced garlic works best!
- Fresh Rosemary: Adds a classic herbaceous aroma that complements the garlic beautifully.
- Salt and Sugar: Balance the flavor while helping with the yeast activation.
- Parmesan Cheese (Optional): A delicious addition that brings a nutty, salty depth to the muffins.
- Flaky Sea Salt: Sprinkled on top for that signature focaccia crunch.
I always use fresh rosemary instead of dried for this recipe—it releases a more vibrant, piney aroma when baked. And trust me, a sprinkle of flaky sea salt at the end makes all the difference!
Step-By-Step Instructions
- Step 1: Activating the Yeast
- In a small bowl, mix warm water, sugar, and active dry yeast. Let it sit for about 5-10 minutes until foamy. This ensures your yeast is alive and ready to give the dough a perfect rise.
- Step 2: Mixing the Dough
- In a large mixing bowl, combine the flour and salt. Gradually pour in the yeast mixture and olive oil, stirring until a sticky dough forms.
- Step 3: Kneading for Texture
- Transfer the dough to a lightly floured surface and knead for 5 minutes until smooth and elastic. This step develops the gluten structure, which gives the muffins their soft, chewy texture.
- Step 4: First Rise (Letting the Dough Rest)
- Place the dough in a greased bowl, cover with a damp cloth, and let it rise in a warm place for about 1 hour or until it doubles in size.
- Step 5: Shaping the Muffins
- Once the dough has risen, punch it down and divide it evenly into a greased muffin tin. Gently press down each portion to fit snugly.
- Step 6: Adding Toppings for Extra Flavor
- Drizzle each muffin with olive oil, then sprinkle minced garlic, chopped rosemary, and flaky sea salt on top. If you love extra cheesy flavor, add Parmesan cheese for a savory boost.
- Step 7: Second Rise (Final Proofing)
- Let the muffins rest for another 20 minutes while preheating the oven to 375°F (190°C).
- Step 8: Baking to Perfection
- Bake for 15-20 minutes, or until the tops are golden brown and crispy. Your kitchen will smell heavenly at this point!
- Step 9: Cooling and Serving
- Let the muffins cool slightly before removing them from the tin. Serve warm, either on their own or with a drizzle of extra virgin olive oil.
 Pin it
Creative Variations
- Cheese Lovers: Mix shredded mozzarella or cheddar into the dough for extra cheesiness.
- Spicy Kick: Sprinkle red pepper flakes on top for a touch of heat.
- Herb Medley: Swap rosemary for thyme or oregano to switch up the flavor profile.
- Whole Wheat Option: Use half whole wheat flour for a slightly denser but healthier version.
- Stuffed Muffins: Press a small cube of cheese into the center of each dough ball before baking for a gooey surprise.
Last time, I added a sprinkle of red pepper flakes on one batch, and it gave just the right amount of heat without overpowering the rosemary-garlic flavors.
 Pin it
Storing & Reheating Tips
Storage: Keep leftovers in an airtight container at room temperature for up to 2 days or refrigerate for up to 5 days.
Reheating
To bring back that fresh-from-the-oven taste:
- Oven: Reheat at 350°F (175°C) for 5-7 minutes for a crisp texture.
- Microwave: Heat for 20-30 seconds to restore softness.
Freezing Option
Wrap muffins individually and freeze for up to 3 months. When ready to eat, thaw at room temperature and reheat.
Frequently Asked Questions
- → Can I make these without yeast?
- Yeast gives the muffins their light texture, but you can try self-rising flour as a substitute for a quicker version.
- → How do I store these muffins?
- Store in an airtight container at room temperature for 2 days, or refrigerate for up to 5 days.
- → Can I freeze these muffins?
- Yes! Wrap them individually and freeze for up to 2 months. Reheat before serving.
- → Can I use dried rosemary instead of fresh?
- Yes, but use half the amount, as dried herbs have a more concentrated flavor.
- → Can I add cheese to the dough?
- Absolutely! Mixing Parmesan or mozzarella into the dough adds extra richness.